
If you have ever successfully made a loaf of bread you know how good it feels. Most of us don’t want to take the time to do it because of our busy schedules, the fear of failing, or it is to much work.
What if I told you you could make the perfect loaf of bread with your hands-on time being just a little more than five minutes? Well, it’s true, and from the first loaf, it has never failed. Oh wait, there was that one time I completely forgot to add the salt and that was just….. gross, but if you remember all the ingredients it turns out perfectly chewy on the outside, soft and airy on the inside every time!
Being a mom of four, the least amount of equipment I have to pull out of the cabinets the better. And this recipe requires no mixer, no kneading, just a bowl, and a wooden spoon. You won’t find much I get the mixer out for, if it’s doable with a wooden spoon I will figure it out!
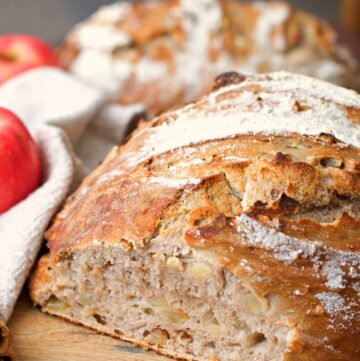
How To Make The Perfect Loaf of Crusty Artisan Bread
Now don’t expect this to be hard. Everyone has the dreaded first loaf, but after this, you will see how easy and doable it is, even for the busiest schedules.
Ready?
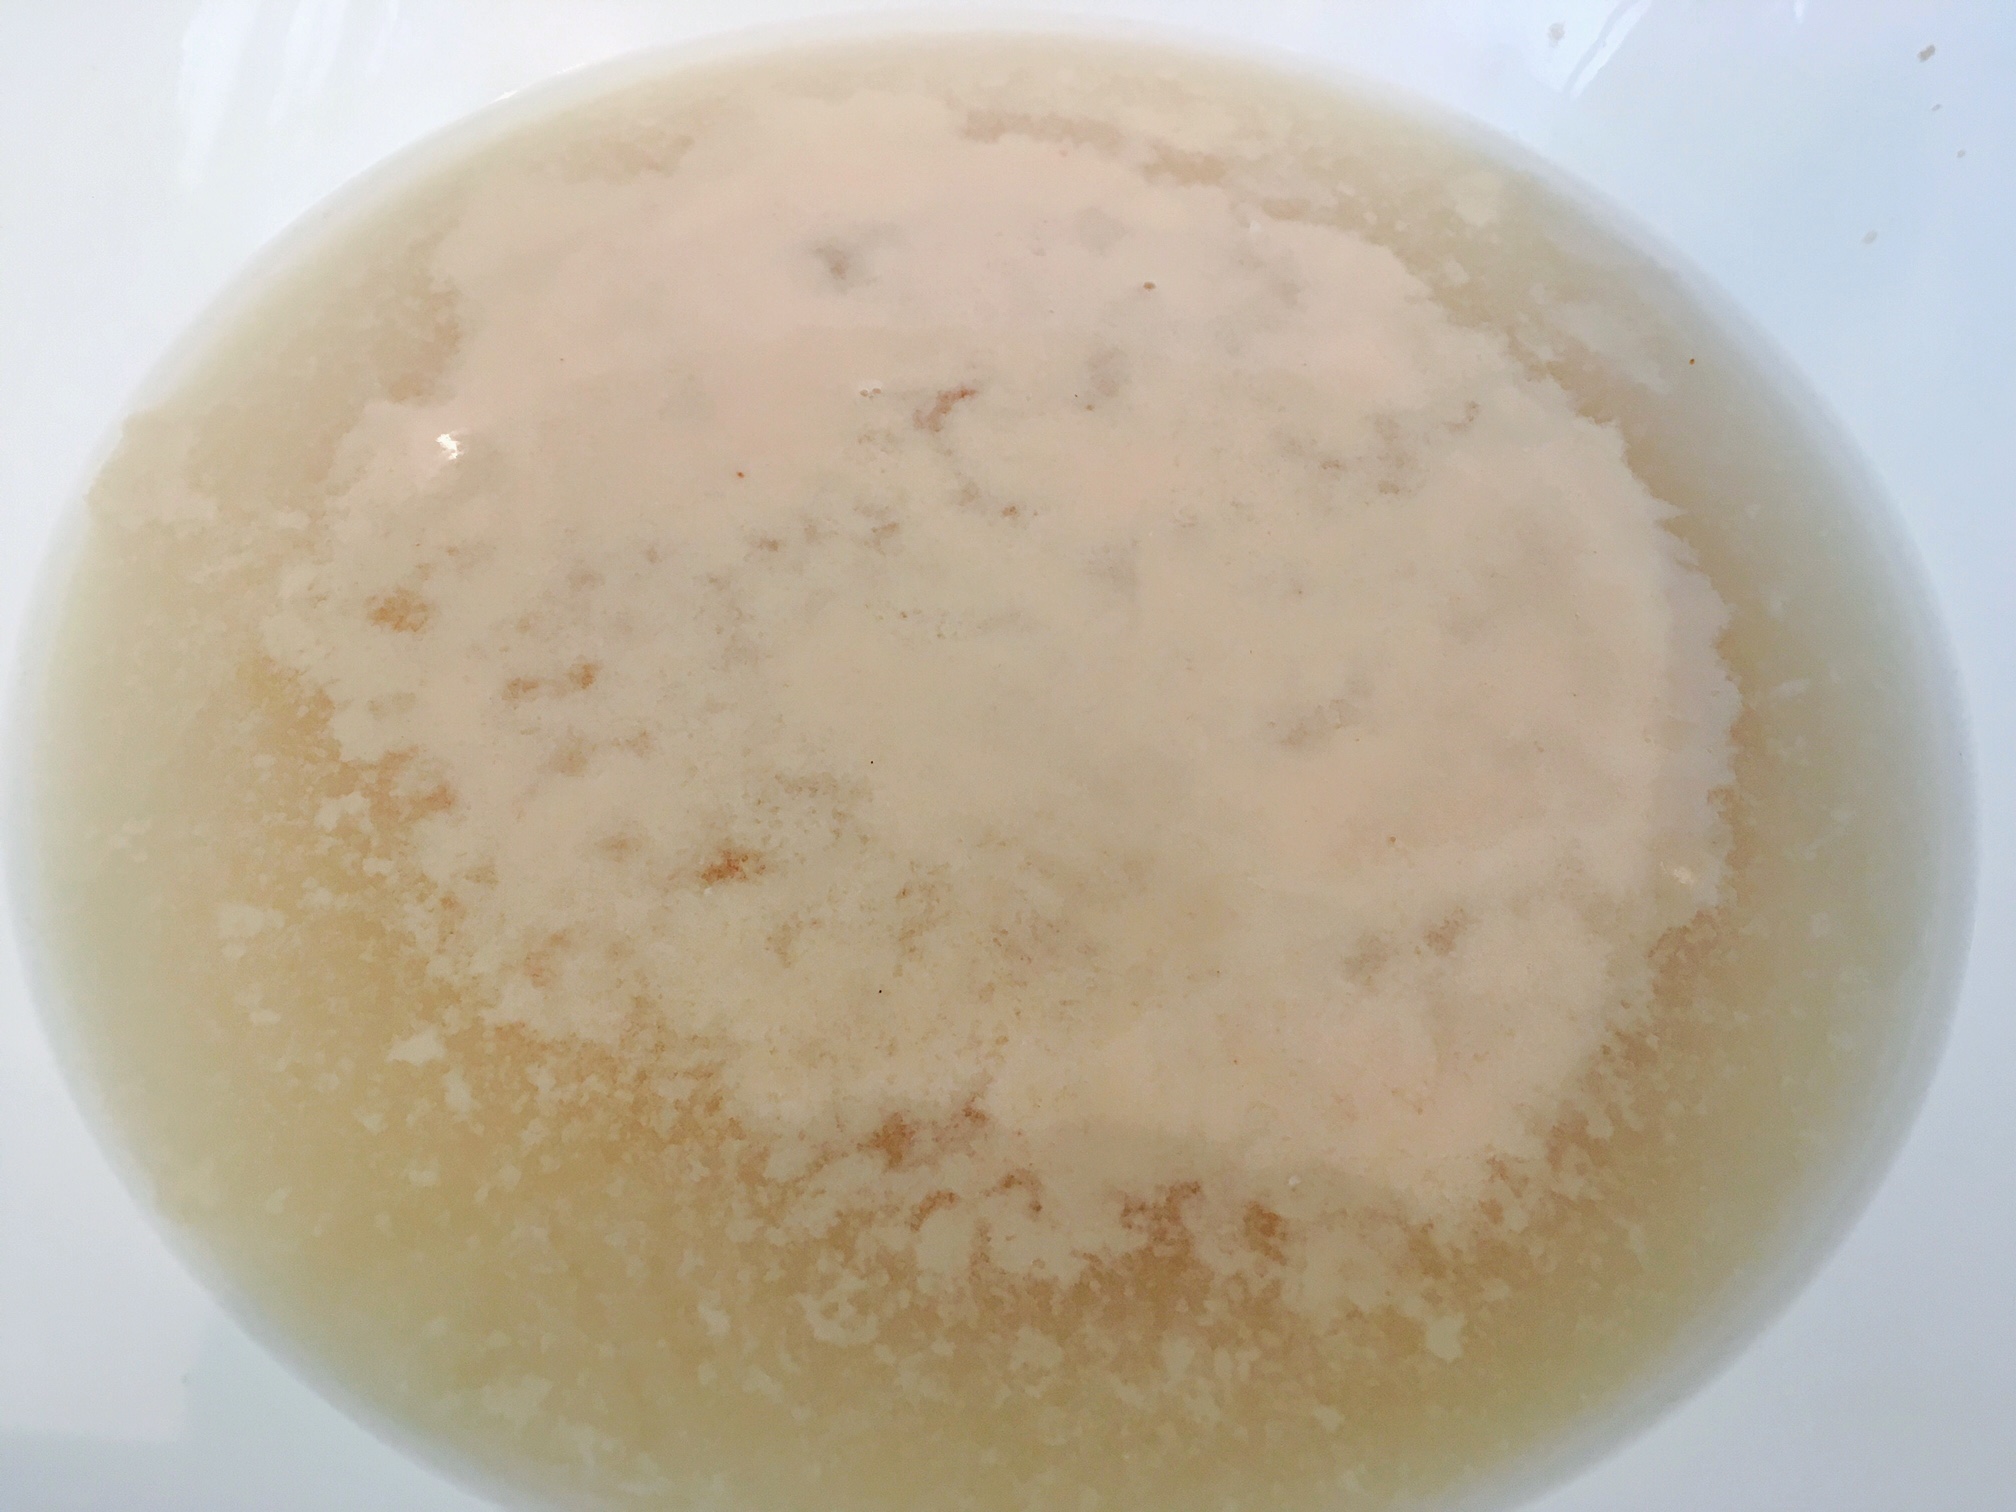
Set out a medium mixing bowl, and put 3 cups of warm water (not too hot, not too cold, just warm) into your bowl. With a wooden spoon, stir in two packets of rapid rise yeast, let that sit for a couple of minutes to activate. You will notice it’s ready when it gets a little bubbly or foamy on top. You can add a tablespoon of sugar if you would like, but if you are using rapid rise yeast it isn’t necessary.
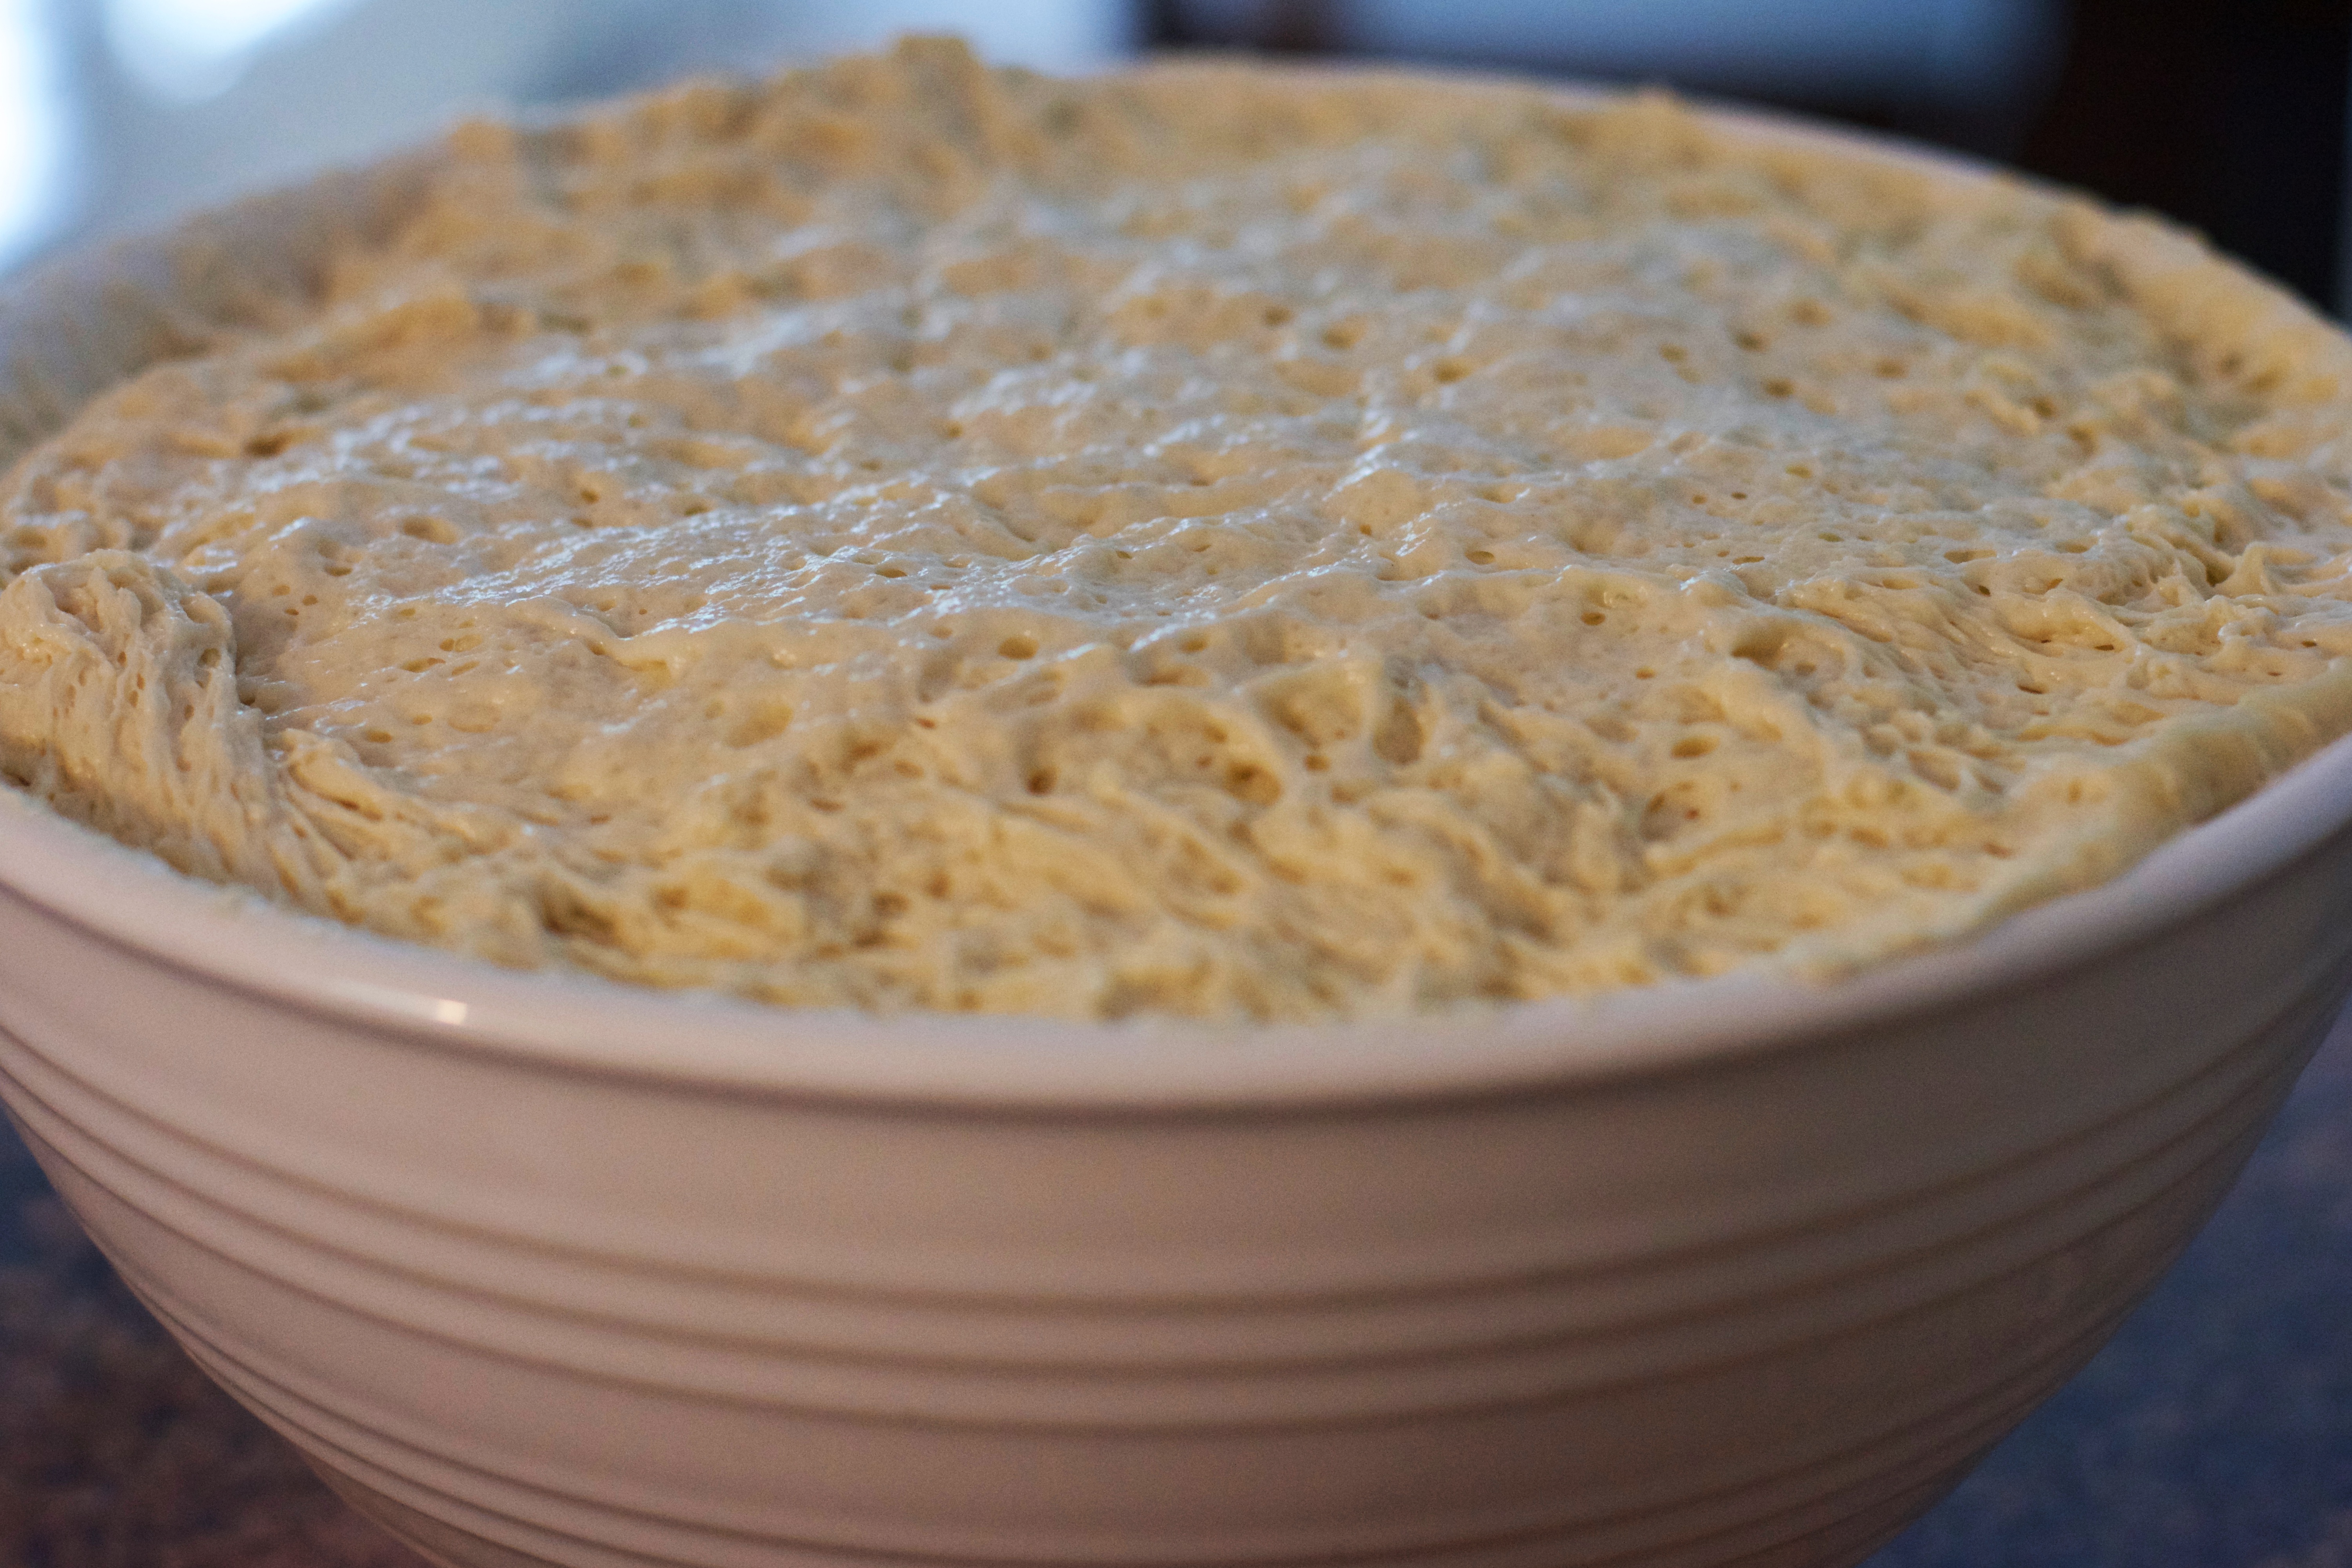
Stir in salt, then add 3 cups of the flour. Stir with a wooden spoon, add the other 3 ½ cups, then stir it until it’s fully incorporated and you don’t see any dry. Cover with a dish towel or press and seal. Let set in a warm part of your kitchen until it rises to the top of the bowl and begins to bubble and start to fall. This time will vary depending on the temperature of your kitchen. Transfer to the refrigerator, this just makes it easier to work with. Let it cool in the fridge for at least an hour or up to two weeks.
OK, let’s go over that again. Mix, cover, set aside, let rise, and put in the refrigerator. Easy so far right?
Ready to Bake!
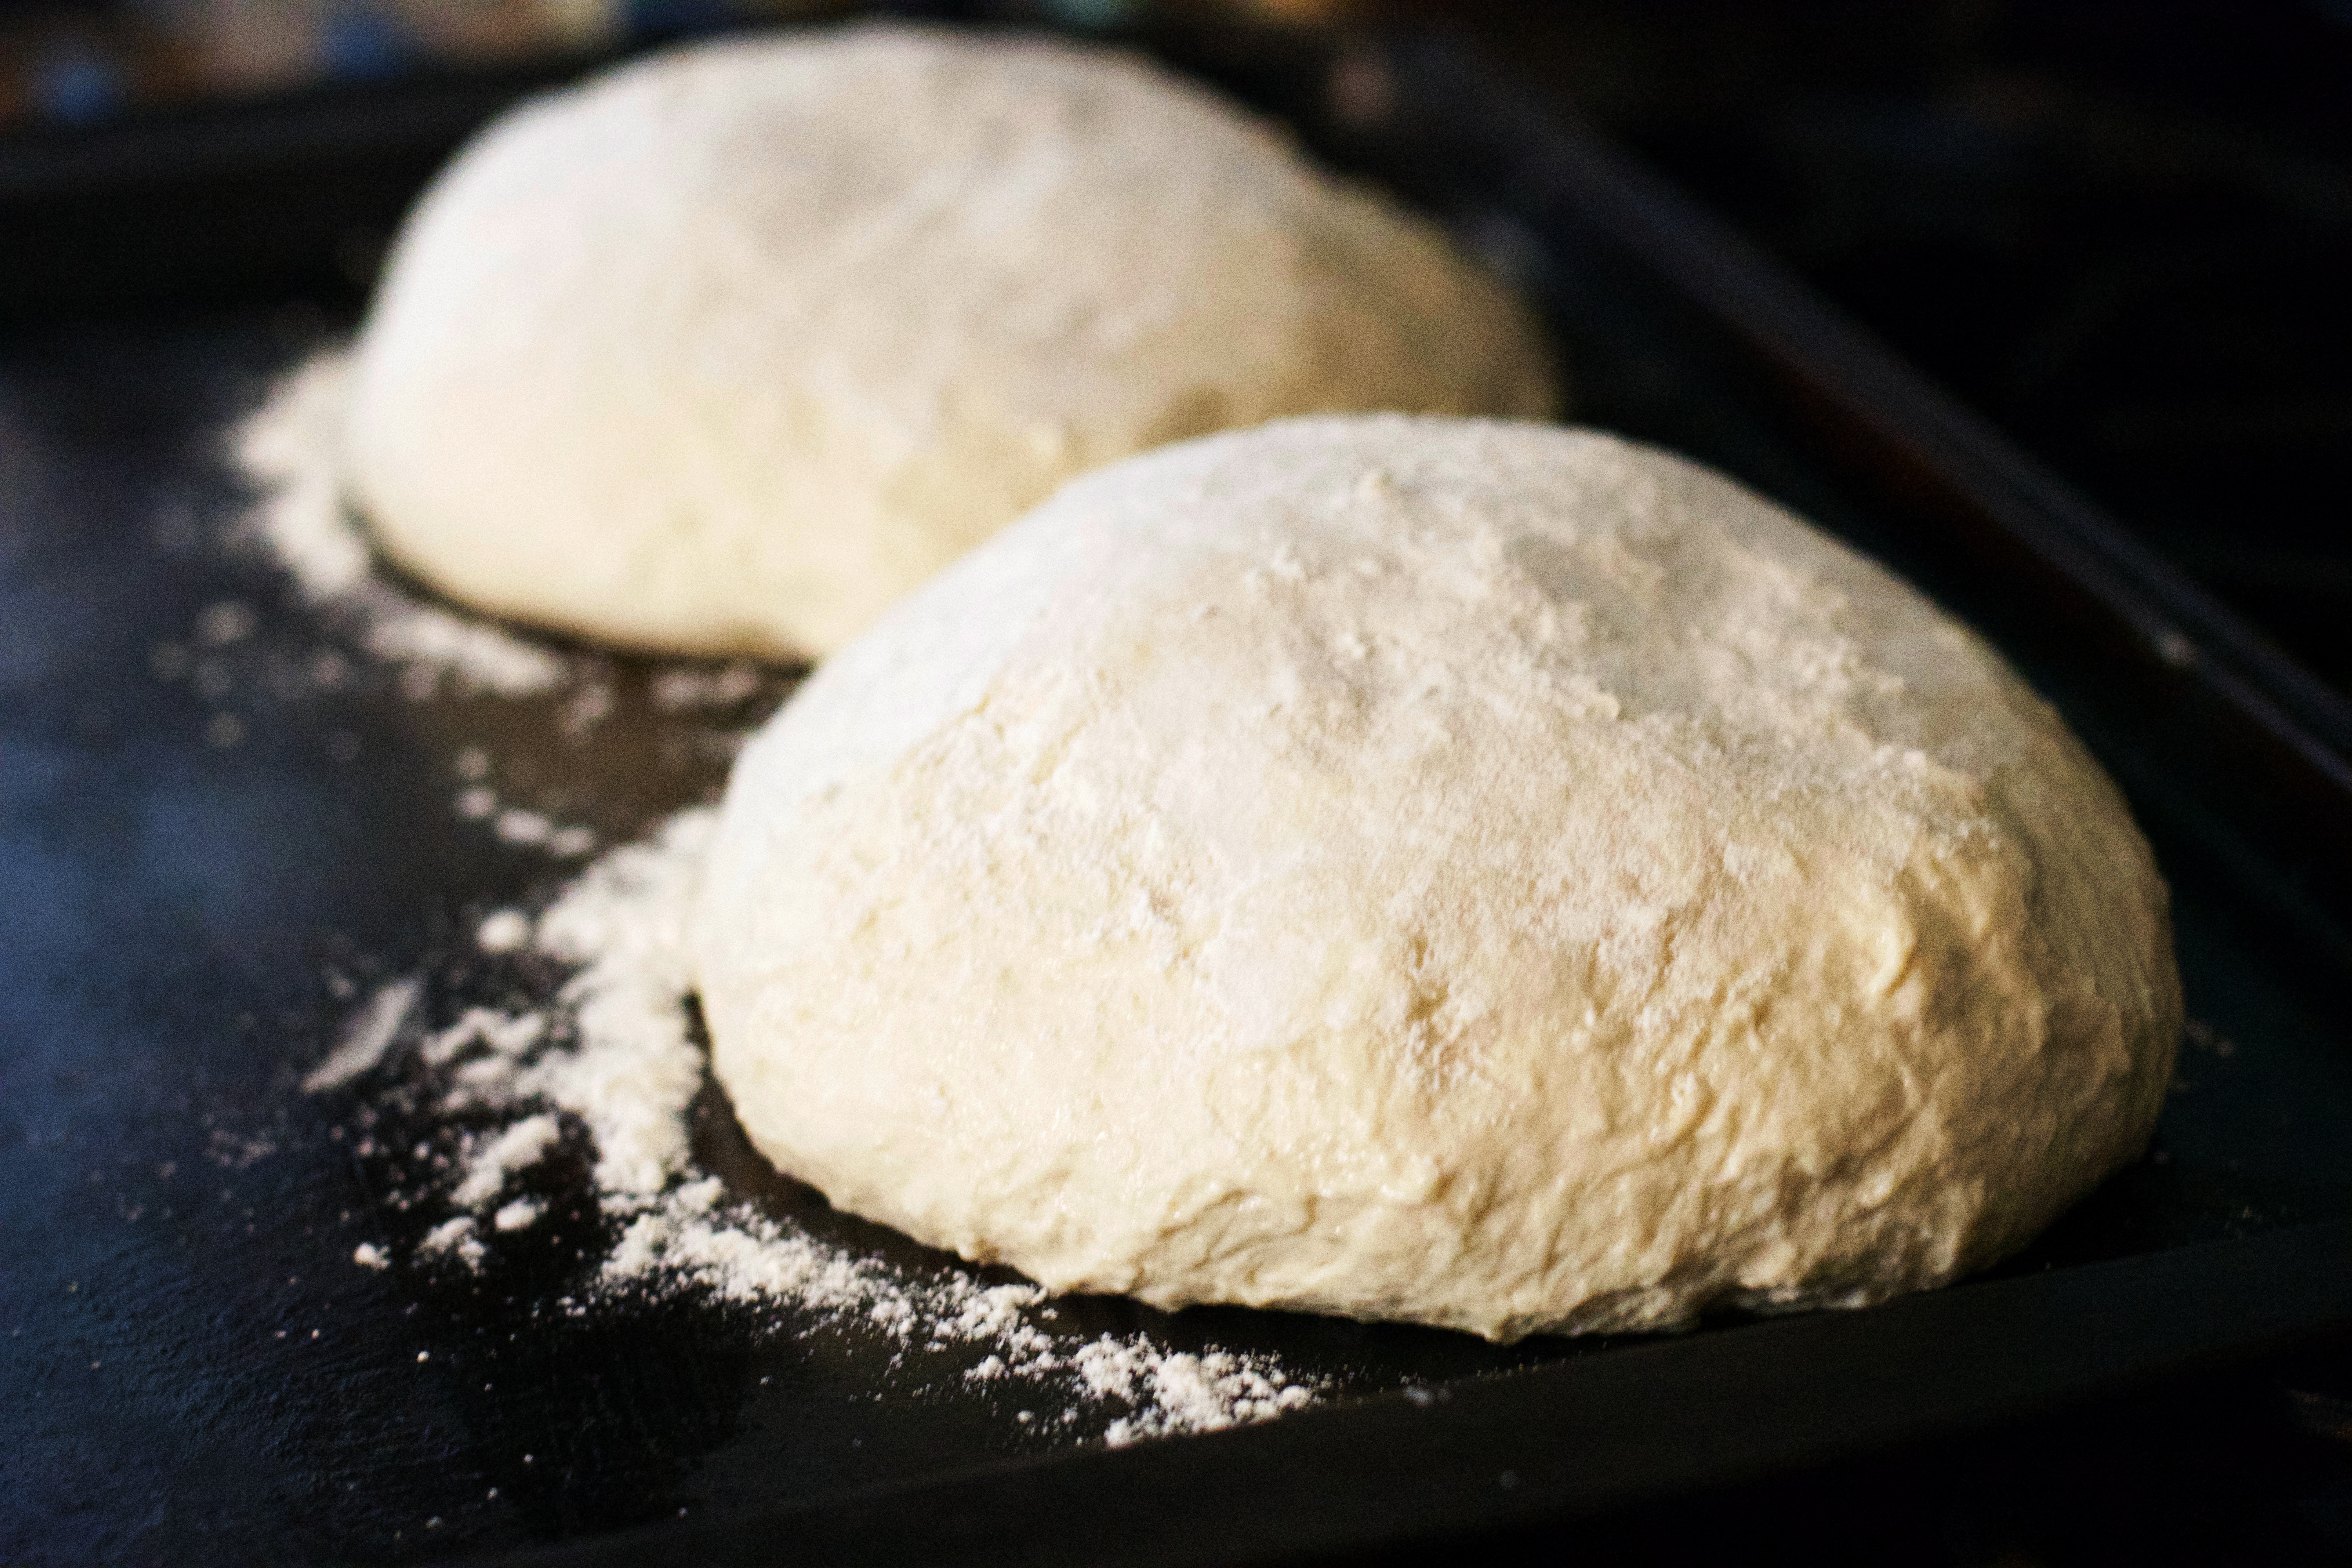
Preheat the oven to 450, and on the lower rack of your oven put a cookie sheet or metal baking pan. With cooking spray, butter, or coconut oil grease a cookie sheet. Pull the bread dough out of the refrigerator and uncover. Run your hands under warm water ( this will help avoid getting dough stuck to your hands) and pull out half of the dough. Pull the dough down and around to the bottom while rotating it until you have a nice round loaf that is smooth on top. Repeat this step with the other half of the dough or cover and save for another day.
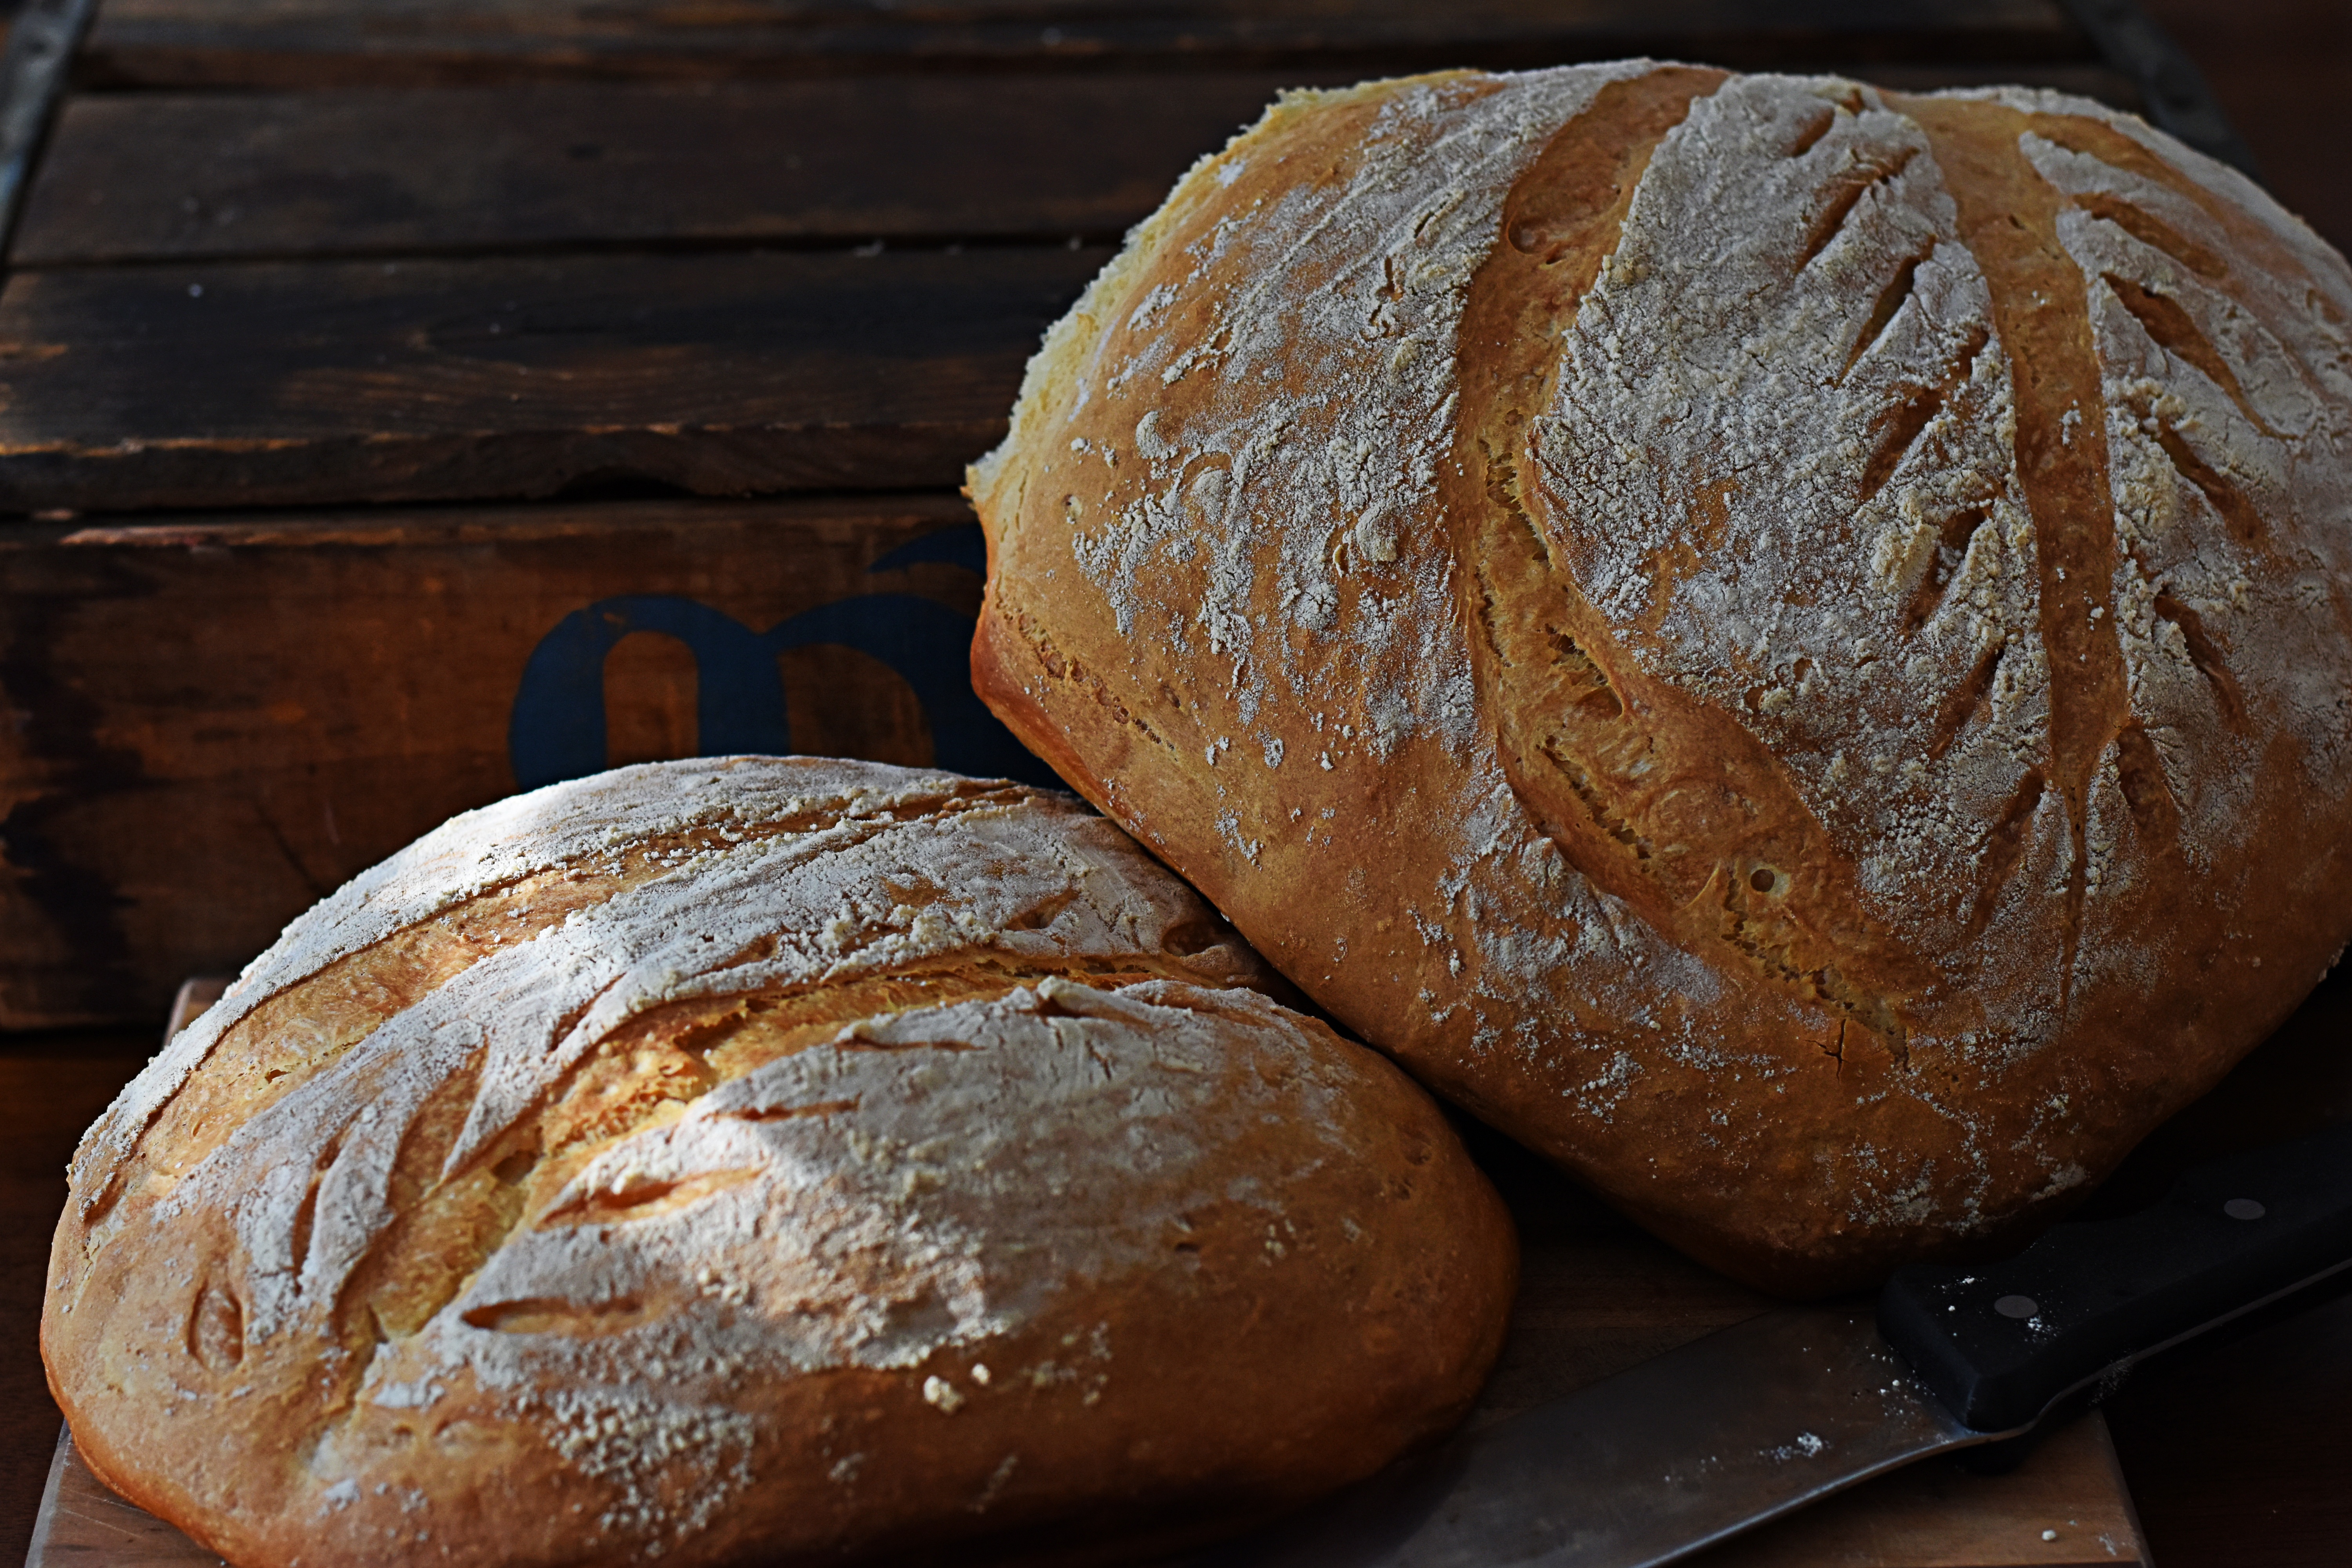
Place on your greased cookie sheet. With about a teaspoon of flour, dust the top of each loaf. With a serrated knife score diagonally three times across the top of the loaf, this rustic look will make you feel really proud when you pull it out!
Let rise on the baking sheet for another 15 or 20 minutes.
Ok, it’s going in the oven.
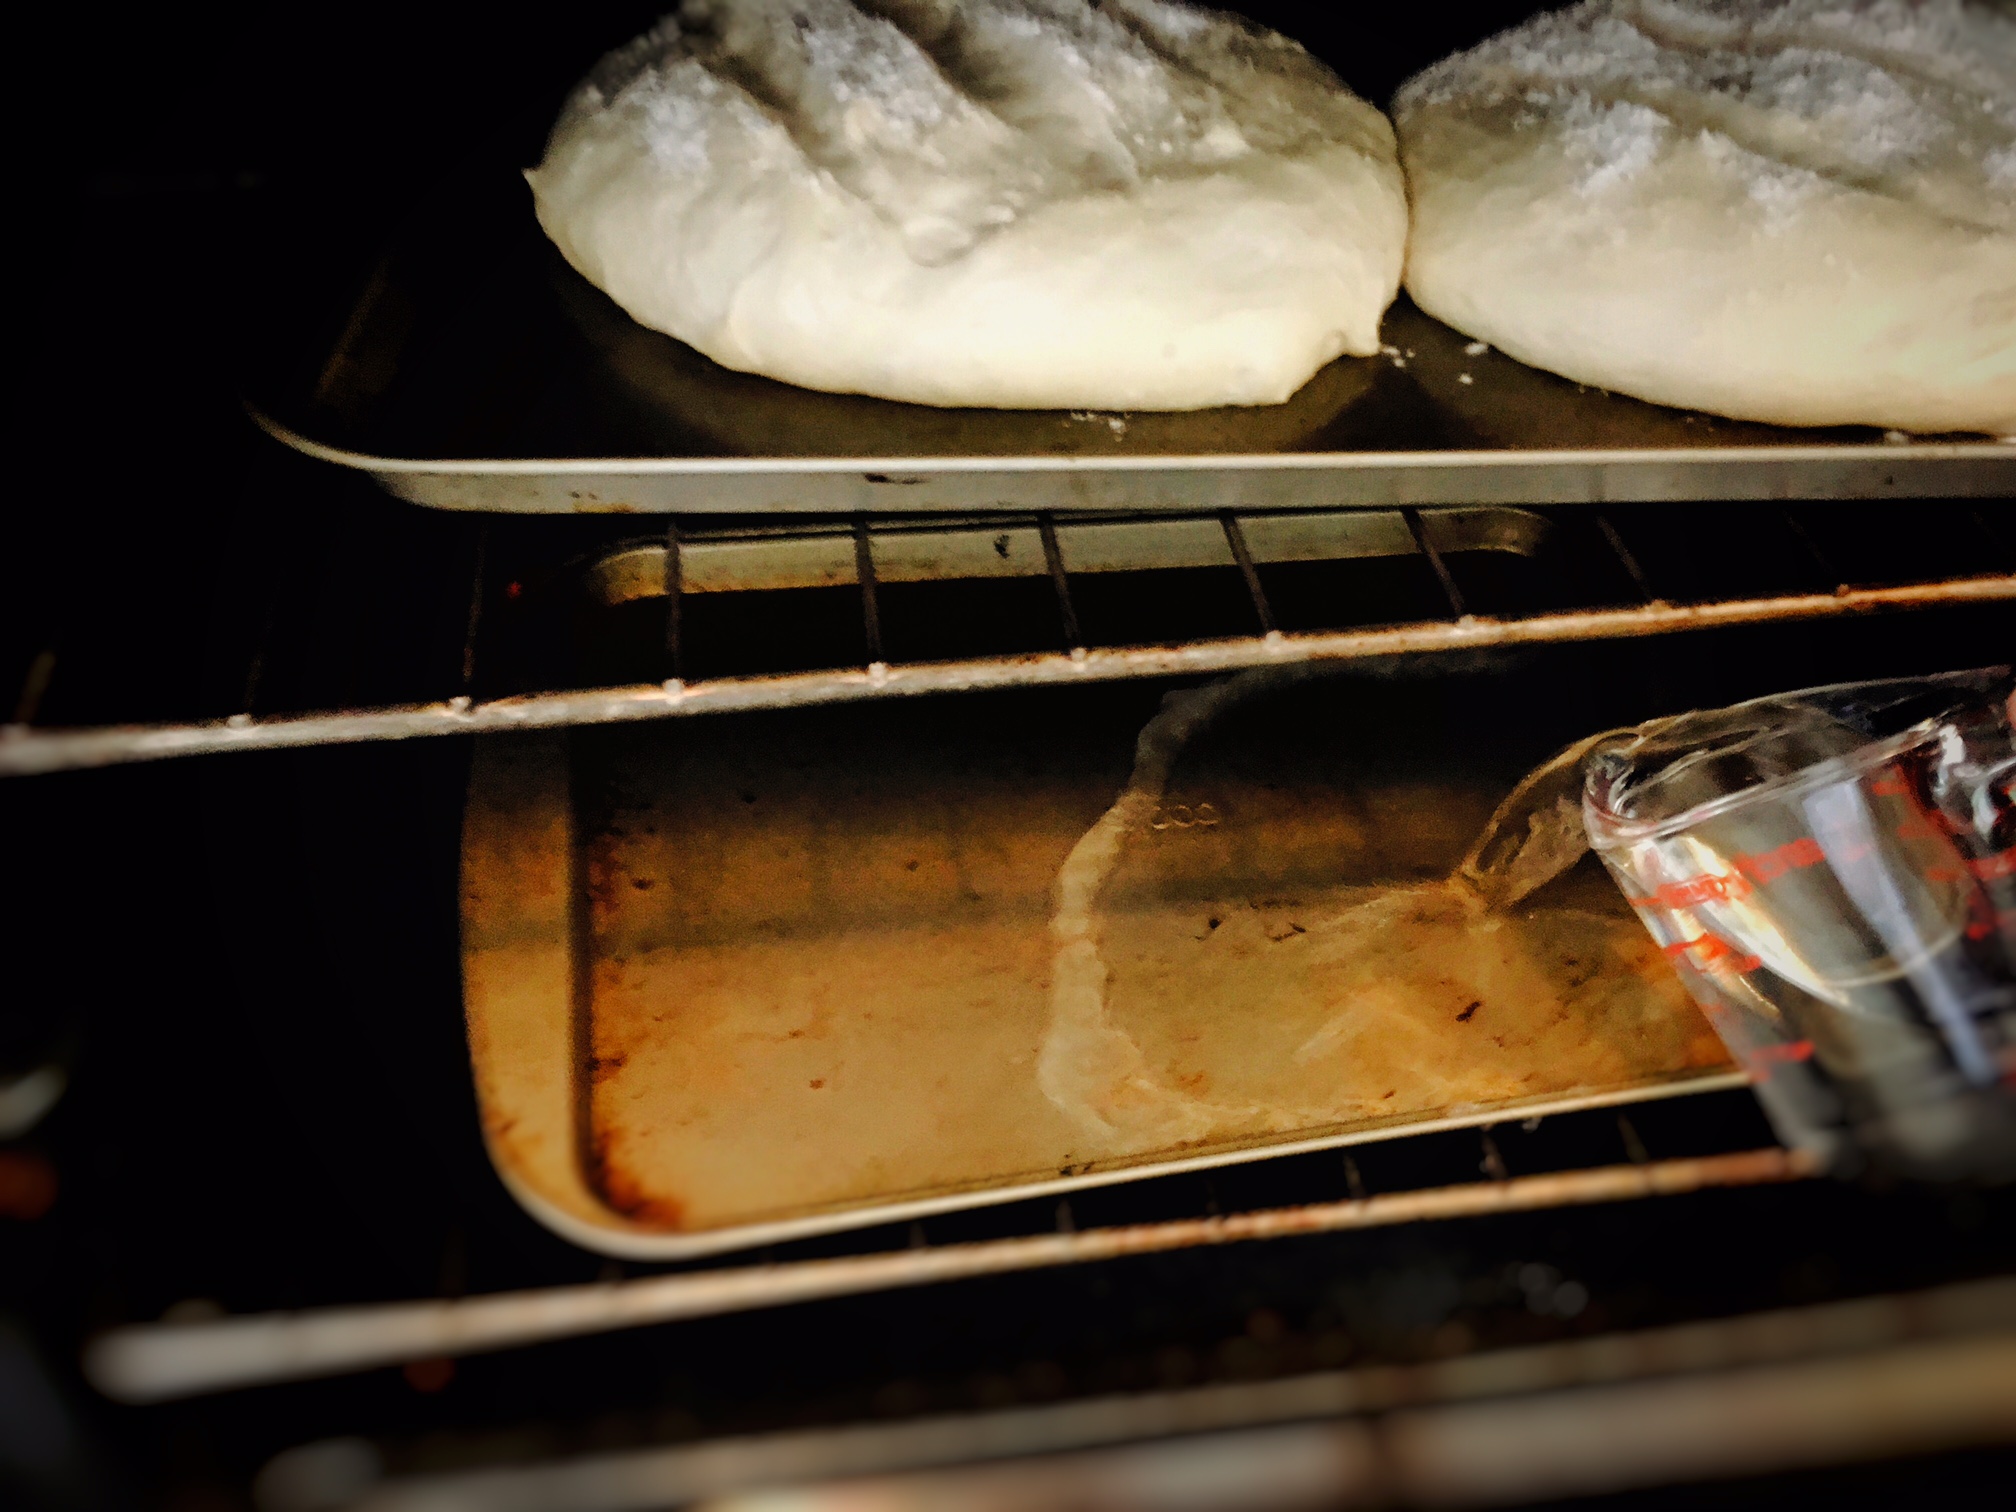
Remember that pan you put on the lower rack? Pour 1 cup of hot water on that then put your bread on the top rack as fast as you can and shut the oven door.
Set your timer for 35 minutes. Bake for 35 minutes or until medium brown in color.
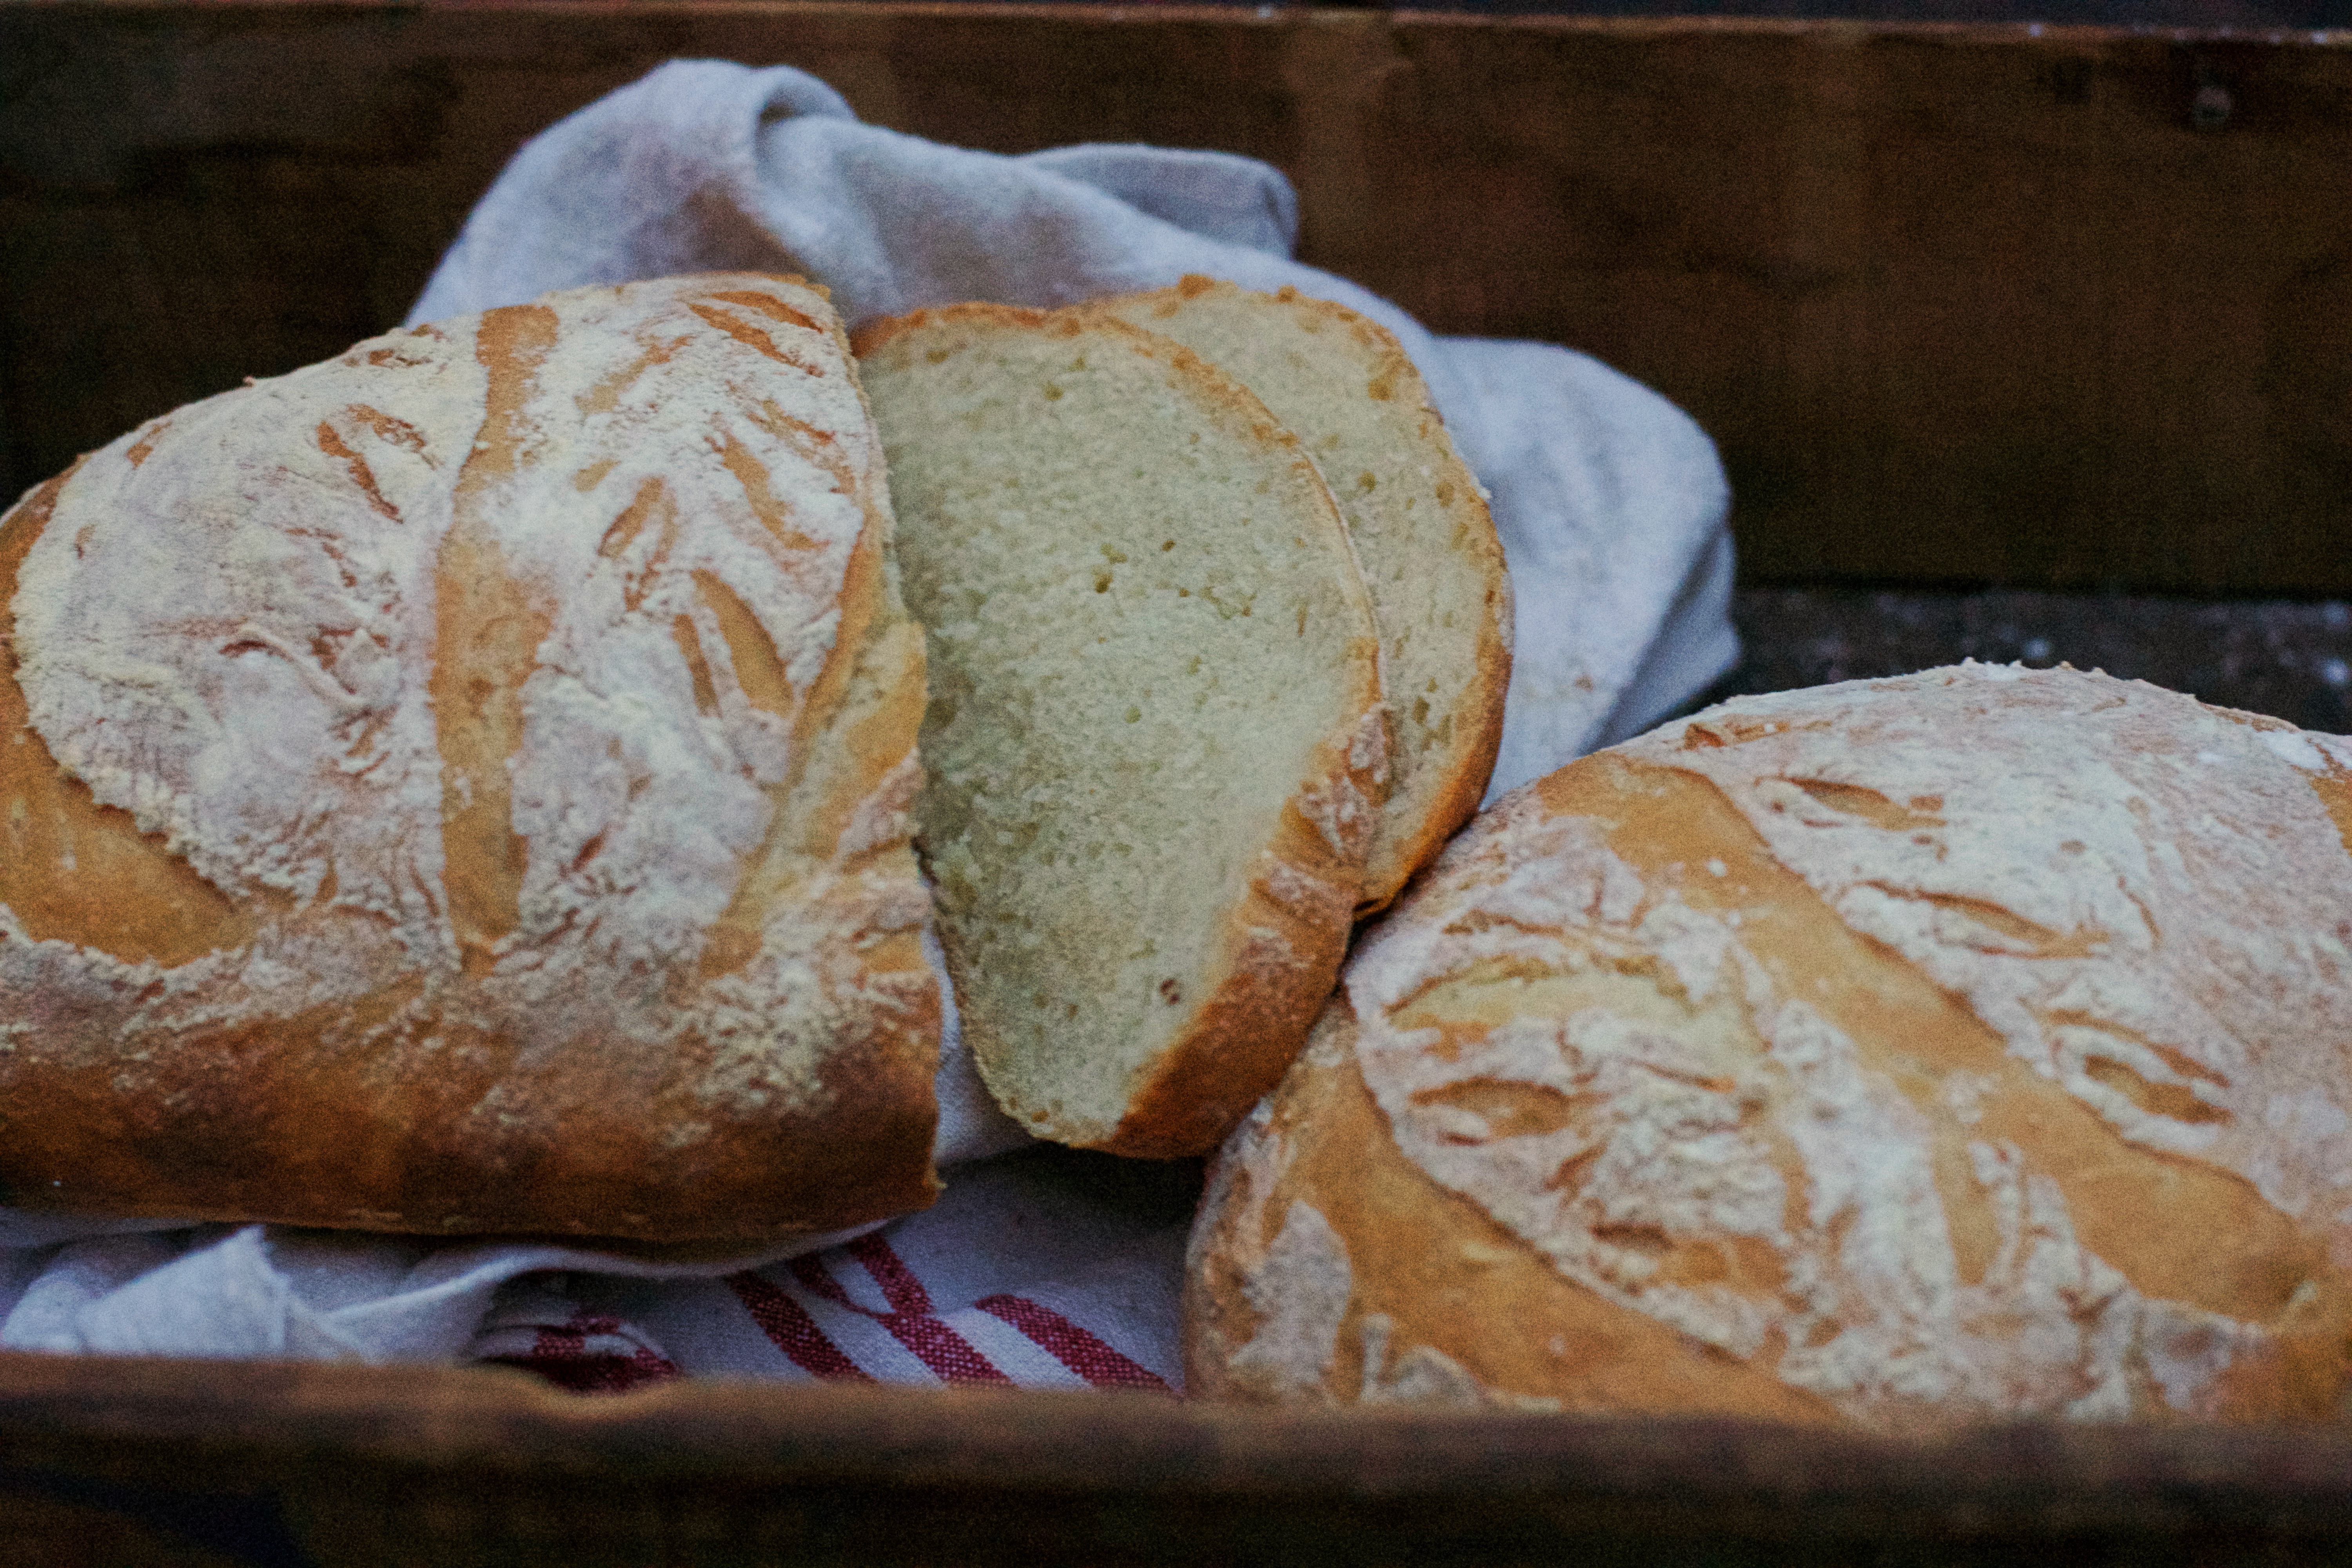
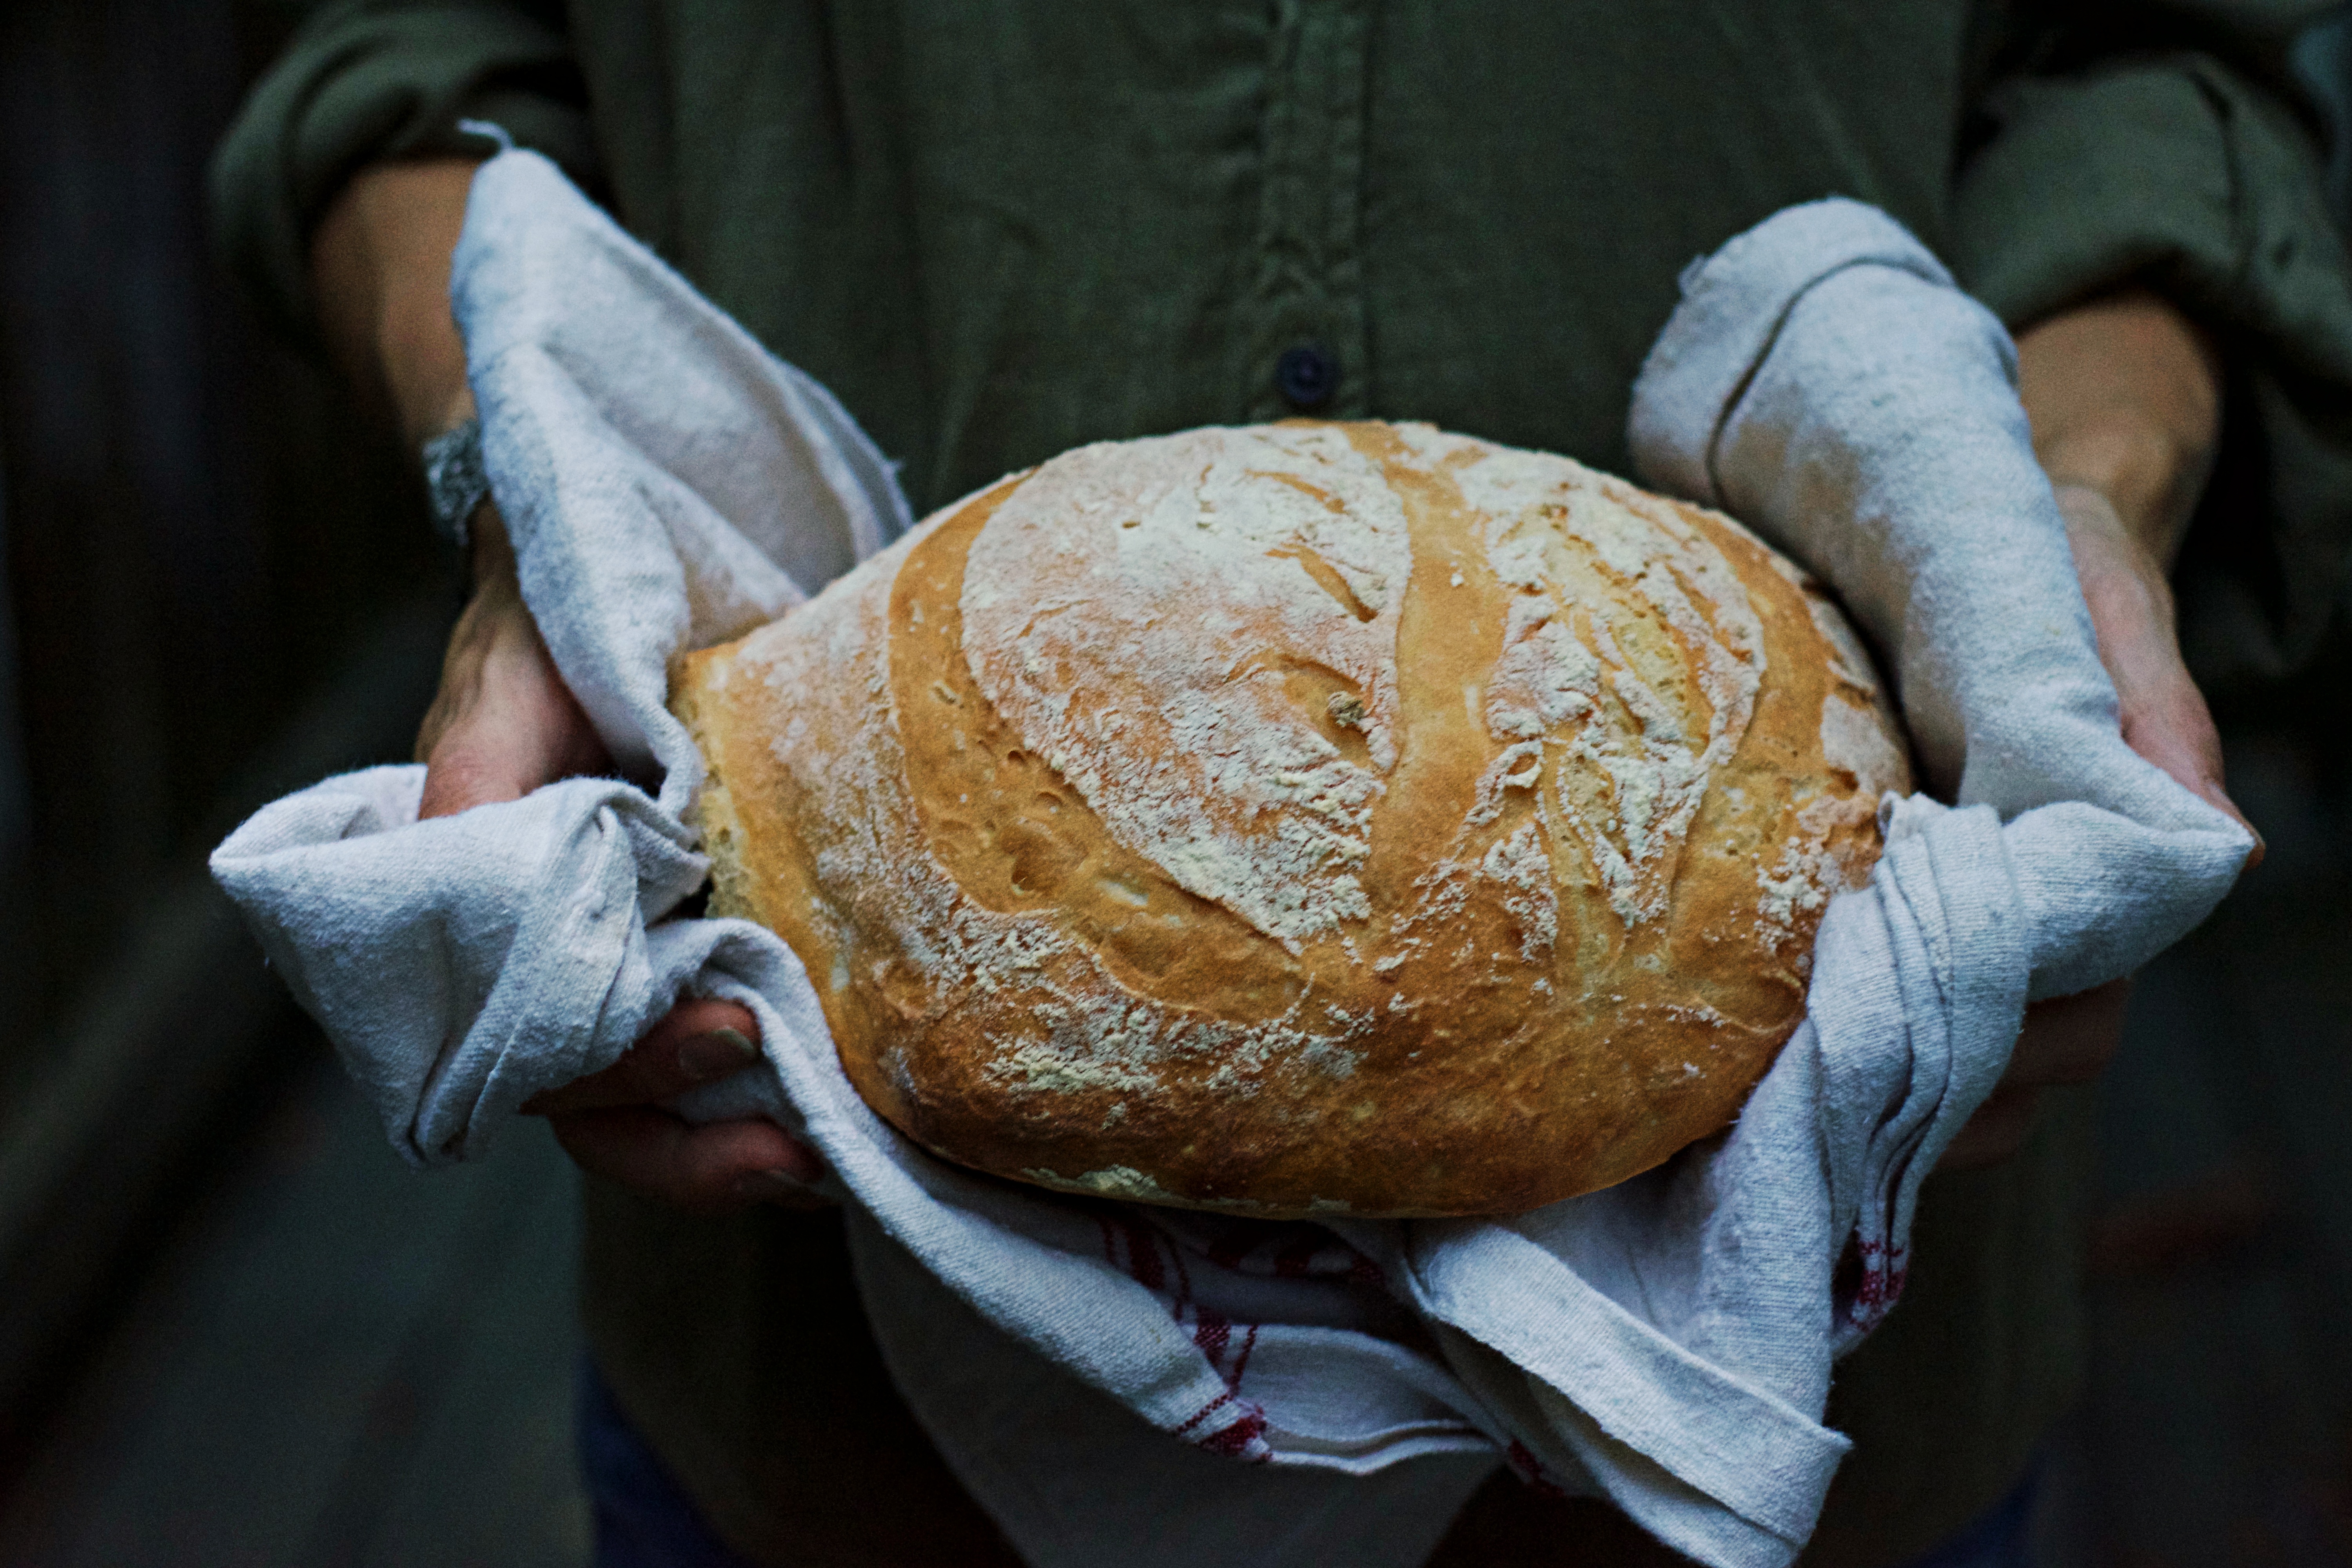
Wa-lah it’s done! You pull it out it looks perfect, you touch it it’s as hard as a rock, right? No worries, it’s perfect! As it cools it will soften.
Elke is a participant in the Amazon Services LLC Associates Program, an affiliate advertising program designed to provide a means for sites to earn advertising fees by advertising and linking to Amazon.com.
Clicking on an Amazon link from Elke does not increase the cost of any item you purchase.
We will only ever link to Amazon products that we think our visitors may be interested in and appreciate learning more about.
For other bread check out my Classic Sandwich Bread!
Crusty Artisan Bread
Ingredients
- 3 cups warm water
- 2 packages rapid rise yeast
- 1 tablespoon plus 1 teaspoon sea salt
- 6 ½ - 7 cups unbleached organic all-purpose flour or bread flour
Instructions
- In a large mixing bowl place 3 cups warm water, sprinkle yeast evenly on the water and mix in with a wooden spoon. Let set a couple minutes to allow yeast to activate.
- Mix in salt and then flour. Mix well just until ingredients are combined.
- Cover with a dish towel or press and seal and let set in a warm spot in your kitchen until doubled in size and bubbly on top and starts to fall (this timing will vary with the temperature of your kitchen) place in the refrigerator for an hour or until you are ready to bake it. (This isn't required, but this makes it less sticky to work with.)
- Preheat oven to 450.
- Place an empty broiler tray (no glass) for holding water on the rack below where your bread will bake.
- Prepare a cookie sheet by brushing with refined coconut oil or spraying. Pull dough from the refrigerator, run your hands under warm water, and put half of the dough into your hands. Shape dough into a circle by gently stretching the dough around to the bottom on all four sides.
- Place on a cookie sheet and repeat with the other half of the dough.
- Sprinkle a teaspoon of flour on the top of each loaf and with a serrated knife make 3 diagonal scores on the top of the bread.
- Let rise for up to 30 min.
- Put your loaves in the oven and then pour 1 cup hot water in broiler tray. Put your loaves in the oven and then close the oven door quickly to trap the steam.
- Bake for about 30-35 min. Or until medium brown on top and hard to the touch. (when this bread comes out it will feel really hard then soften up as it cools)
- After it cools I store in bread bags on my counter.
Notes
- I recently bought a bread knife, it has made life so much easier when cutting this bread. If you don't have one-get one!
- Buy bread bags I use here
- Both loaves do not have to be baked at once and the dough can be stored for up to 2 weeks in the refrigerator. This can also be baked in a loaf pan, used for pizza crust, or baked with a variety of add-ins.
- Buy a bread knife here
- You can add a tablespoon of sugar if you like. It is not necessary for quick rise yeast because there are enough simple sugar in flour for the yeast to rise


Ryan and Beth Graban
Amazing wisdom on healthy eating! Can’t wait for the next blog.
Gerarda Gibbs
Could you use gluten free flour, if so what kind?
elkeliving
I haven’t tried using gluten free flour for this recipe. I don’t think the consistency would come out the same. You could maybe try half regular flour, half oat or buckwheat . ?
Mikaelah Seifrit
This is the BEST bread you will ever eat!! I have been blessed to have it many times, made by Elke herself!
elkeliving
lol Thanks Mik!<3
Rose Tipi
Wow, l can’t wait to try this bread recipe. It looks so good it’s the kind I like too.
elkeliving
Let me know how it turns out!!:)
Janine Whipkey
So excited about your new web sight and looking forward to trying the recipes!!
elkeliving
elkeliving
Thank you Aunt Janine!
Melissa
I’m making some right now! Thanks #elkeliving ??
elkeliving
That’s so awesome!!
Beverly Witten
Looks and sounds easy and yummy. Do you think this could be made in a bread maker?
elkeliving
Glad we had the chance to talk about the bread Beverly! let me know if you get a chance to try it!:)
Beverly Witten
Im going to make it today. I will let you know how I do and how it turns out. Im happy we got to talk too.
Beverly Witten
Made the bread yesterday. Discovered I need to move my oven rack up, burned the loaves on the bottom, and we found a few small lumps of flour, but all in all it turned out good. We like it. I got my bread maker today and I am baking a loaf now. Hope all is ok and God Bless you and the kids.
elkeliving
Great! Please let me know how it turns out??
Beverly Witten
The bread maker is fantastic, I have made 3 loaves so far. I did not care much for the chocolate chips one. Making a Italian Loaf with dipping sauce for Ernie to take to church meeting Sunday night.
elkeliving
That’s so great! So proud of you! So happy the bread maker worked?
Jessie Holbert
I absolutely love this recipe! It turns out perfectly every…single…time!!! Today’s cold temps are calling for an amazing loaf of this excellence! Thanks Elke!
elkeliving
Thank you Jess! It is the best???
D
For the followers out of the US,can you please put in grams, the weight of one bag of yeast, thank you!!!
I just put 21 gram of yeast…its rise nicely and in the refrigerator, will let you know how it end up.
elkeliving
I’m so sorry I don’t know how to convert to grams. I looked up the yeast for someone and 2 packs would be 16 grams so you were close? please let me know how it ends up and how many grams of flour etc.. you use?
Ana Schaller
I’ve put 2 bags of Dr.Oetker, it 7g per bag, so it was 14g all together. It was huge, at least double in size when it rose.
Waiting for it to cool down, it smells yummy!
elkeliving
Great! Thank you!! ??
Mary Alice Grimm Trumble
Could you use self-rising flour and reduce the amount of salt.
elkeliving
Self rising flour is made with baking powder. This is a yeast bread so it wouldn’t work the same. You can definitely reduce amount of salt?
Cherise
I replaced 1/2 cup of flour with blended oats and another 1/2 cup of flour with a chia/flax mix. Also added in some dried herbs. Turned out yum!
elkeliving
That’s great! Sounds delicious!!!’?
Valerie
If i want to prep the dough in advance and bake it another day, at what step do i stop? Do i keep it in the fridge for a few days then?
elkeliving
Hi Valerie! After you let the dough rise in the bowl ( make sure it’s covered with press n seal or plastic wrap) and put in the refrigerator until you are ready to bake. The dough can set for up to 2 weeks.
Tracy
Can you use a bread flour? I have a bag of king arthur!
elkeliving
I’m so sorry I missed this! Bread flour may not work the same for a yeast bread because it has baking soda and salt.
Stephanie
So easy and so delicious! I made a half portion in order to just make one loaf and was pretty inexact with my measurements. It still came out wonderfully. I served it with olive oil and a seasoning blend I threw together. It was devoured by my friends. Thanks for the recipe!
elkeliving
Thank you for sharing! So glad you made it!??
Dixie
Artisan crusted bread we absolutely love it
elkeliving
Oh soooo good!!?
Ellie Boehmer
Can I make the artisan bread with regular, not rapid, yeast?
elkeliving
Yes, you sure can. Add a little bit of sugar and make sure to activate long enough and let it get foamy?